The Files tool
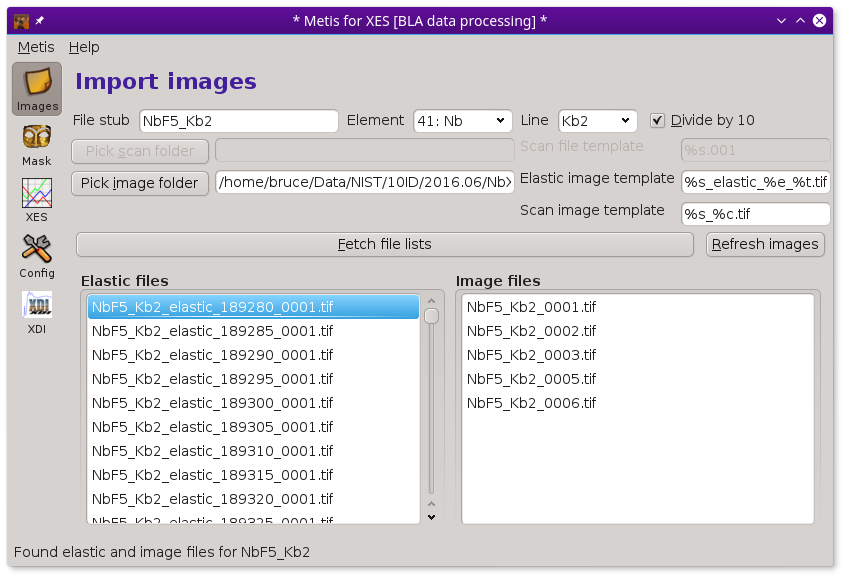
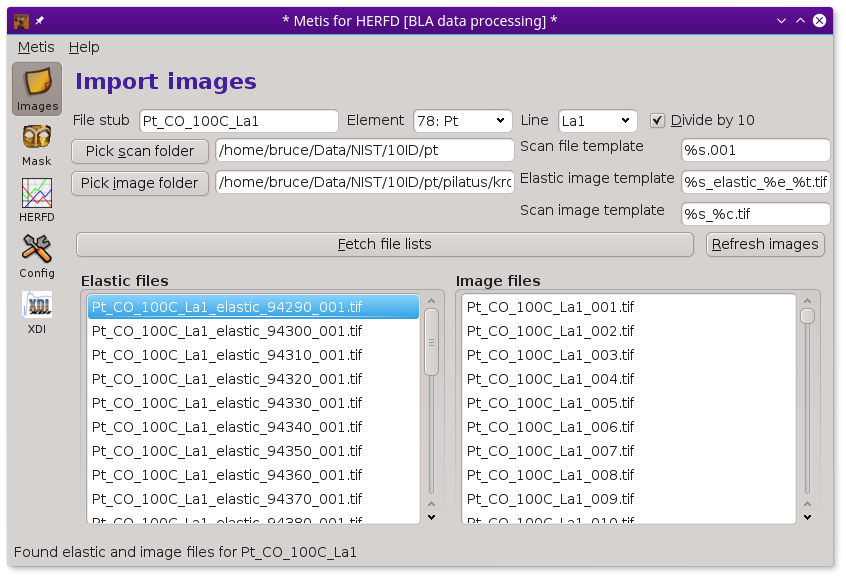
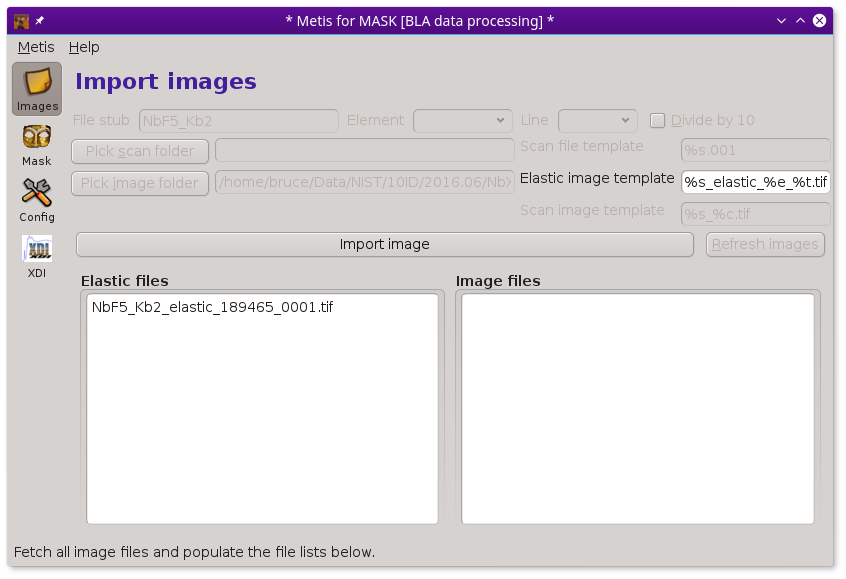
To begin with METIS, fill in the box with the file stub. Then click the Pick image folder button. This will post the file selection dialog. Use that to select the folder containing the sequence of images measured at elastic and (non-)resonant incidence energies.
Make sure the boxes containing file name templates are filled in correctly. These are used to specify the patterns used for the various files written during the measurement. Getting these right is an important part of organizing the entire data ensemble in an interpretable way.
Finally, click the Fetch file lists button. This will fill up the lists of elastic energy and measurement images. Eventually, the lists will be filled in and METIS will be ready to go.
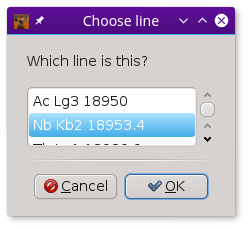
To aid in data visualization, the three controls at the top of the Files page should be set correctly. The two drop-down menus are used to indicate the element and edge of the absorber. You will be prompted for this based on information gleaned from the elastic energy file names
Finally, the Divide by 10 button is used to indicate how
to interpret the energy value part of the image files names. In this
example, the elastic energies are indicated by 189280, 189285,
and so on. These integers are the incident energy multiplied by 10,
i.e. 18928.0, 19828.5, and so on. Clicking this button to the correct
state helps METIS interpret the file names correctly.
The templates used to recognize elastic and measurement images (as
well as the scan file name for herfd and rxes modes) are
simple substitution templates.
| token | Replacement | Configuration parameter |
|---|---|---|
%s |
file stub, NbF5_Kb2 in this example |
|
%e |
elastic energy value | |
%i |
incident energy value (rxes and herfd modes) |
|
%t |
tiff counter string | ♦metis→tiffcounter |
%c |
energy counter | ♦metis→energycounterwidth |
Use the Configuration tool to set the parameters
governing the %t and %c tokens. If set incorrectly, the
Fetch file lists button will return with an error
about not being able to find files matching the templates.
Having these file naming templates allows the user to store images from multiple measurements in the same folder on disk.
The %t is, in practice, usually something like 0001 – it is a
counter that is used by EPICS areaDetector to number
repeated exposures of the camera. The way the BLA spectrometer is
used, this is rarely incremented, although the number of leading zeros
might be changed. The %c token is used in rxes and herfd
modes to relate an exposure during the energy scan to the index of
that energy point in the scan file. For xes mode, this is the
counter used for repeated exposures of the non-resonant XES image.
Once all the files have been loaded into METIS, click on the Mask icon in the side bar to go to the mask creation tool.
Visualizing individual images
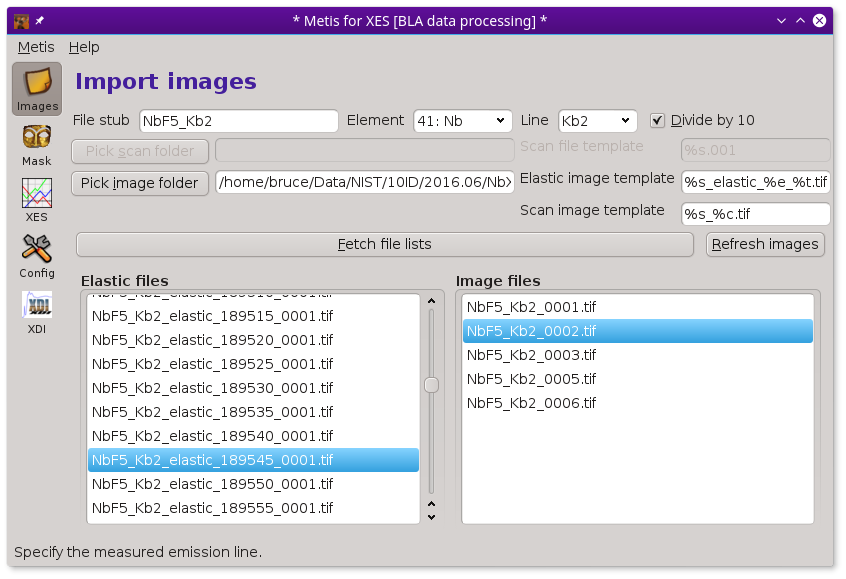
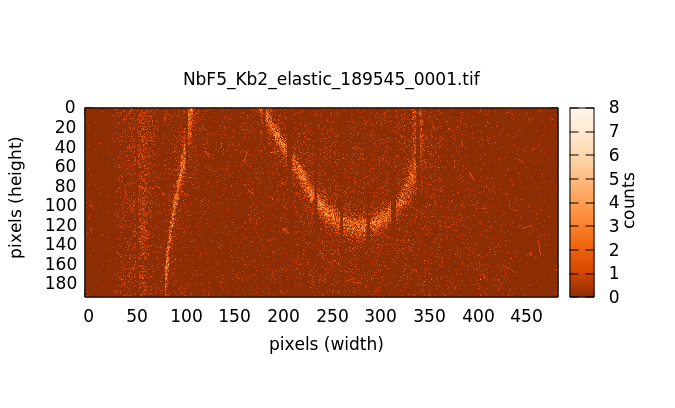
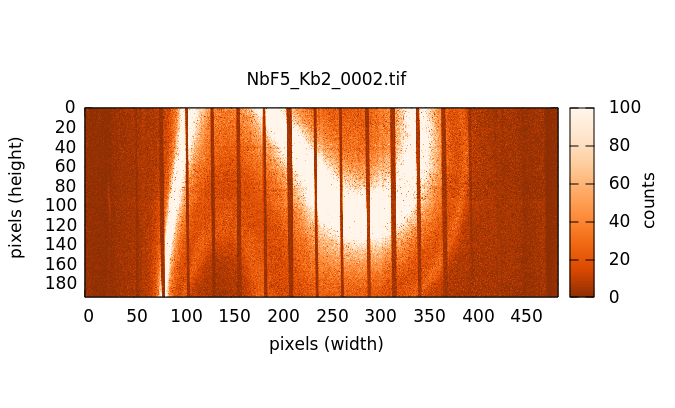
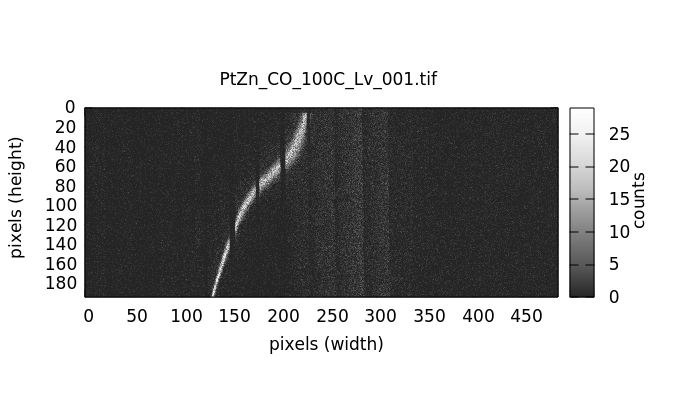
Individual image files can be plotted by double clicking on a file name in either the elastic or image file list.
HERFD measurements
A HERFD measurement uses a scan file as well as a complete set of elastic and image files. Thus none of the controls for folders or templates are disabled in HERFD mode.
In a HERFD measurement, the image file list is typically longer than the elastic file list. An image file must be collected at each point in a XANES scan – typically 100 or so points. In this example, elastic images are measured every eV from 9429 to 9454 eV, a range that surrounds the Lα1 peak at 9442 eV.
RXES measurements
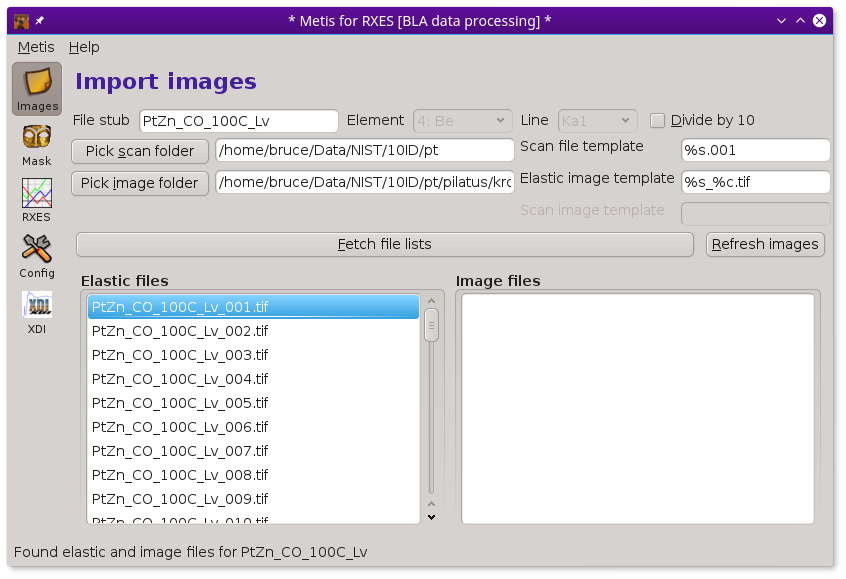
An RXES measurement is structured a little differently from the other measurement types. In the case of RXES, the sequence of masks is the same set of files as the sequence of emission measurements. That is, the elastic part of each image will be processed into a mask then applied to the same sequence of images.
In this case, a scan file is used to correlate image numbers with energies. There is a list of elastic files, but no separate list of image files.
Processing individual files
You can use METIS to examine individual elastic image files
by starting in mask mode.
Most of the controls are disabled in mask mode and the
Fetch file lists button is, instead, labeled
Import image. Pressing this button will post a file
selection dialog allowing you to import a single image file from the
Pilatus. This will be displayed in the Elastic files
list.
Note that the file naming templates are not used in mask mode, so
the image file to be examined can have any name.
Also note that the Data tool is not available in this mode and that the Mask tool will likewise only consider one image file at a time.
Xray::BLA and METIS are copyright © 2011-2014, 2016 Bruce Ravel and Jeremy Kropf – This document is copyright © 2016 Bruce Ravel
This document is licensed under The Creative Commons Attribution-ShareAlike License.
If this software and its documentation are useful to you, please consider supporting The Creative Commons.
